Is Your BR-V’s AC Filter Missing?
Hey there, Honda BR-V owners! Have you ever wondered if your car came with an AC cabin filter from the factory? It’s a question many of you have, and the answer might surprise you. While the BR-V’s air conditioning system is fantastic, a crucial component—the cabin air filter—is often not installed by the company.
You might think, “Why would they skip that?” The reason is often related to regional specifications or cost-saving measures. But here’s the thing: this small, inexpensive part is a BIG deal for the long-term health of your AC system.
The Problem: A Clogged Cooling Coil
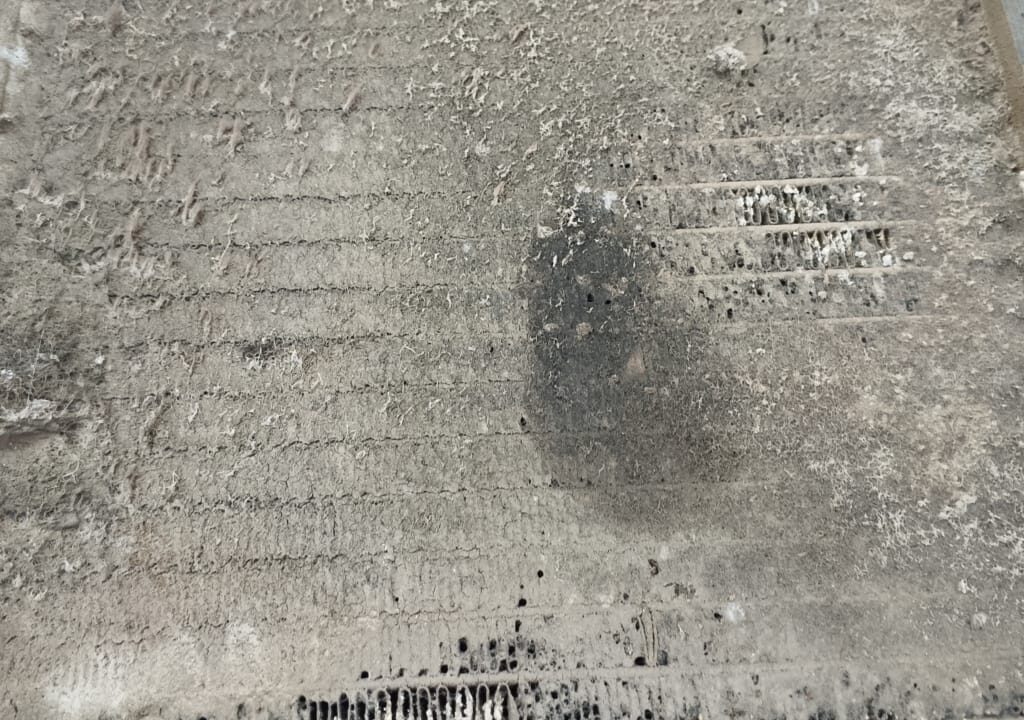
Without a filter, all the dust, pollen, and debris from the outside air get sucked directly into your car’s ventilation system. Where does it all end up? Right on your cooling coil (also known as the evaporator).
Over time, this dust accumulates and forms a thick, mucky layer. This layer of grime acts like a blanket, severely reducing the cooling coil’s ability to transfer heat. This means:
* Weak Cooling: Your AC won’t feel as cold, no matter how high you crank it.
* Reduced Airflow: The fan will be working harder, but you’ll feel less air coming from the vents.
* The Big One: Cooling Coil Leakage: This is the most serious and costly problem. The accumulated dust can trap moisture and chemicals, leading to corrosion and eventually, a leak in the cooling coil. Replacing a leaking cooling coil is a major job that involves disassembling the dashboard—and a hefty bill to go with it.


The Simple Solution: Install an AC Filter!
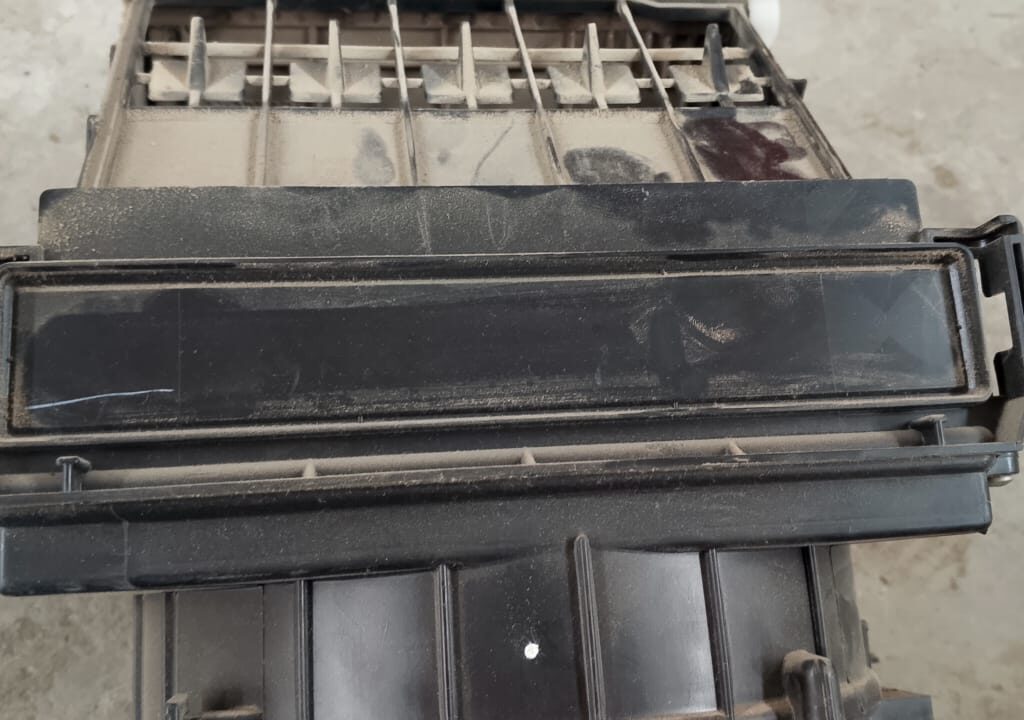
The good news is, the fix is incredibly simple and affordable. The BR-V’s AC system is designed to accommodate a cabin filter; the slot is already there behind the glove box.
What you need to do:
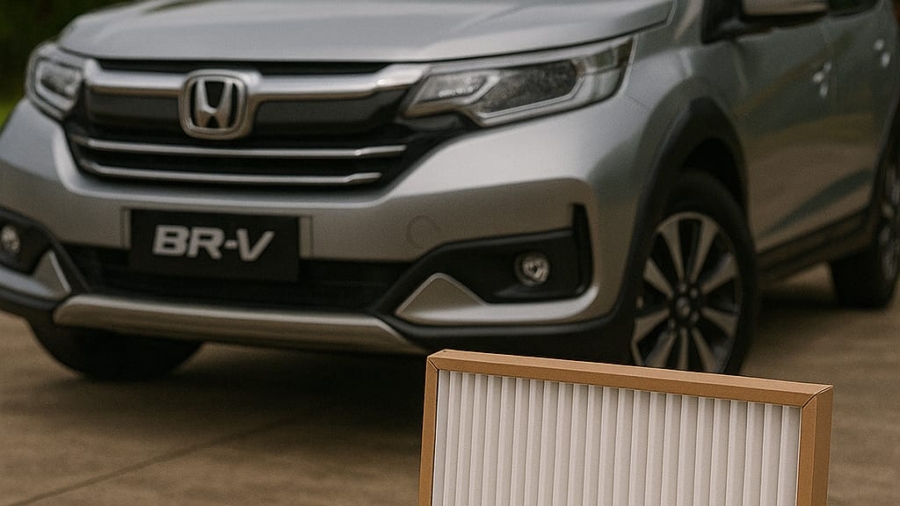
1-Purchase a Cabin Air Filter: You can easily find one from an auto parts store or online. Make sure it’s specifically for the Honda BR-V.
2-Locate the Filter Slot: Open your glove compartment. You’ll need to detach it from its hinges to access the filter housing behind it.
3-Install the Filter: Simply slide the new filter into the designated slot. Pay attention to the airflow direction arrow on the filter.
This quick DIY job can save you thousands in potential repairs. By installing a filter and replacing it every 10,000-15,000 kilometers (or as recommended), you’ll keep your cooling coil clean, your AC running efficiently, and your wallet happy.
Don’t wait for your cooling to fail. A simple check and a small investment today can prevent a major headache tomorrow!
RELATED ARTICLES
Maximum Engine Speed Warning in Audi/Porsche
1- Problem with engine oil pressure Low engine oil pressure indicates that there isn't enough oil circulating through your engine at the pro ...
Mercedes Benz Brake Assist System: BAS and BAS PLUS
What is BAS (Brake Assist System) & BAS PLUS (Brake Assist System Plus) In Mercedes Benz BAS (Brake Assist System)When it comes ...


Add a Comment